Setup Linksys MX5300 Velop AX WiFi 6 System on an Android Device?
The Linksys MX5300 Velop AX Whole Home Wi-Fi 6 System uses the latest Wi-Fi and offers a speed of 5.3 Gbps. If you wish to learn how to set up this device, then carry the simple steps mentioned below.
How to Set up Linksys MX5300 Velop AX Whole Home Wi-Fi 6 System-
Read the steps mentioned below to complete the setup process to set up the Linksys MX5300 Velop AX WholeHome Wi-Fi 6 system.
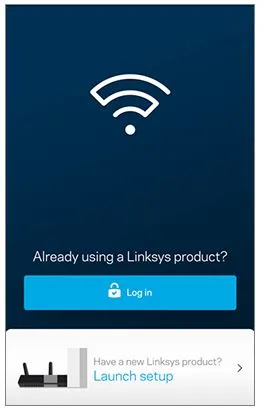
Step 1: First of all, open the Linksys app and then launch setup.
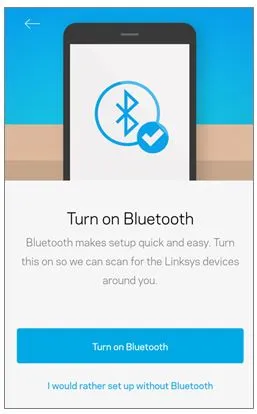
Step 2: Tap on the button of "Turn on Bluetooth". Bluetooth is only used for the setup process.
Step 3: Select Allow and then go through the Terms and Conditions agreement and then select Agree to continue
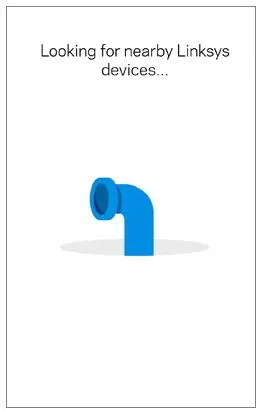
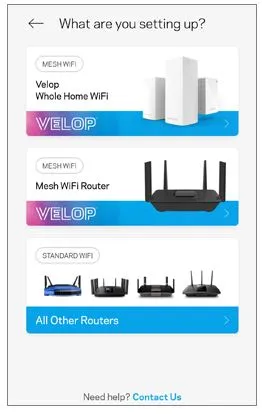
Step 4: Now, the setup will start searching for your Node. If you are asked to select the router type, then choose the option of "Velop Whole Home Wi-Fi".
Step 5: Once the node gets detected, you will see a purple blinking light. After that, choose the option of Yes, it's blinking purple.
Step 6: Now, the setup will check for the internet.
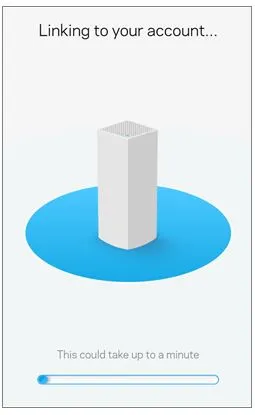
Step 7: Now, in the next step, you need to create a Linss server account. Enter your email address and password in the empty fields and then click on Create Account. In case you already have an account, then select the option of Log in here and enter your email ID and password.
Step 8: Now, create a wireless network name and password in order to personalize your home Wi-Fi. After you are done, select Next. If you are asked to connect to your new Wi-Fi name, then you need to go to Settings on your mobile device and then select Wi-FI.
After that, connect to your Velop Wi-Fi name. In case you closed the Linksys app, then open it again to complete the setup process.
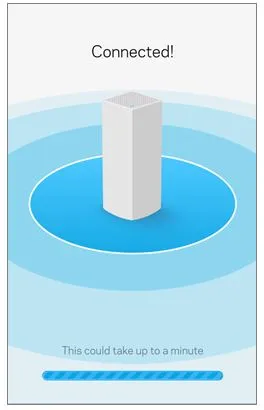
Step 9: Now, the app will start configuring the Velop network.
Step 10: After that, choose the Node name and then select Next. It is advisable to keep the node name similar to the node location for easy identification. To change the name, select the option of "name it something else".
Step 11: Now, you will see the Success screen and then select Next.
Step 12: If you wish to add another node, then you must check that the light on your device is sold purple. After that, select the option of that's it for now. You can also log into the Velop dashboard and add a new node later.
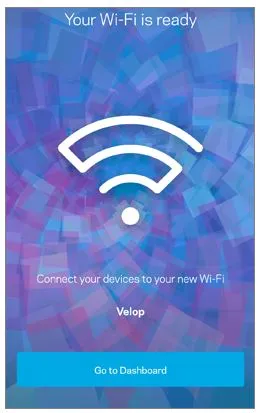
Step 13: Now, you will see the Always Fresh screen. Select Next. After that, a firmware check will be performed by the node to check if the node is updated or not. The app will update automatically if a new firmware is available. Or else, you will see the screen of Your Wi-Fi is ready.
- Suraj Singh
- Last Update: 18 Jan 2024
Popular Post